
The Reality of Bathroom Tile Failure
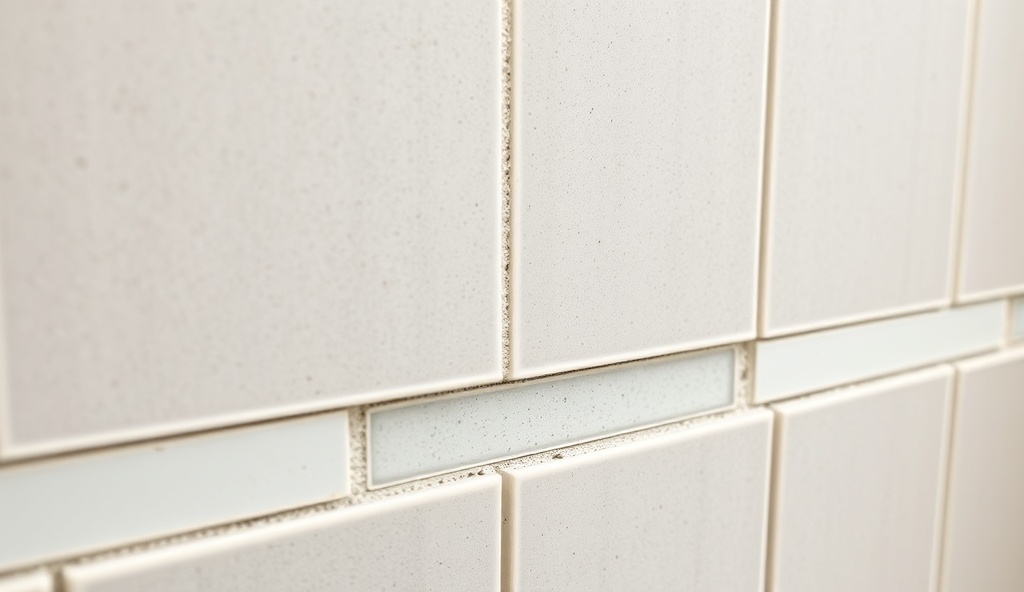
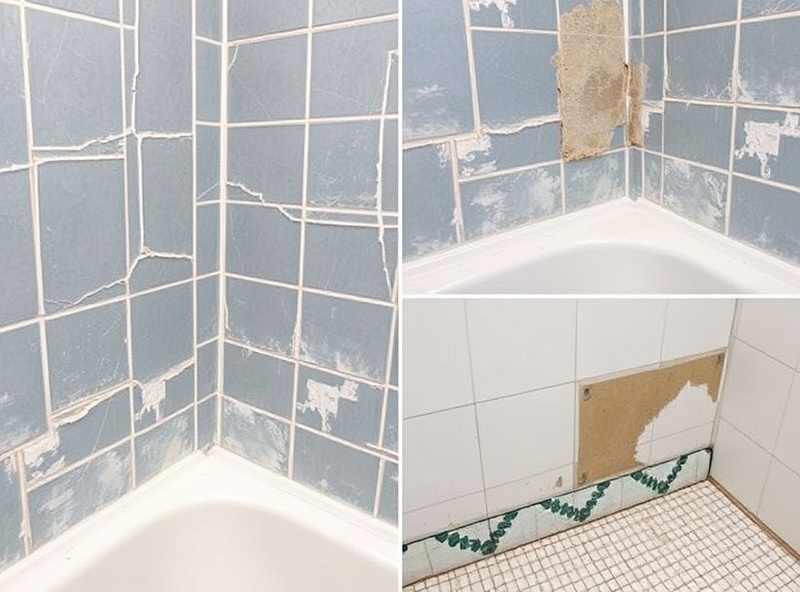
Bathroom tiles look permanent, but they’re actually one of the most common failure points in home renovations. Tiles crack, shift, develop gaps, harbor mold, and sometimes need complete re-doing within years of installation.
Understanding why tiles fail helps homeowners make better decisions during renovations and choose contractors who prevent failures rather than creating them.
The Primary Cause: Water Infiltration Behind Tile
The #1 cause of bathroom tile failure is water infiltrating behind the tile. Here’s why it’s catastrophic:
Water gets behind tile → Waterproofing failure or substrate absorption → Moisture in substrate → Mold growth → Wood rot → Structural damage → Expensive remediation
The tile itself might look fine on the surface, but behind it, damage is spreading. Many homeowners only discover the problem years later when mold odors appear or water damage becomes visible.
Tile Failure Causes: Quick Reference
| Cause | Impact | Severity | Prevention | Cost to Fix |
|---|---|---|---|---|
| Inadequate Waterproofing | Mold, rot, structural damage | Critical | Professional system + proper installation | $10K-$40K |
| Wrong Substrate | Water absorption, deterioration | Critical | Use cement board, not drywall | $5K-$20K |
| Improper Slope | Water pooling, infiltration | High | Verify slope during construction | $3K-$10K |
| Thin Mortar Coverage | Water infiltration, loose tiles | High | Professional installation with 80%+ coverage | $2K-$8K |
| Poor Grout | Water infiltration, mold | High | Use epoxy grout, seal properly | $1K-$5K |
| Foundation Movement | Cracks, water entry | Medium | Address settling before remodel | $2K-$10K |
| Thermal Stress | Grout cracks, water entry | Medium | Proper spacing, flexible grout | $500-$3K |
| Mold/Moisture | Health hazard, structural risk | High | Proper ventilation + maintenance | $2K-$10K |
| Impact Damage | Cracks, water infiltration | Low-Medium | Careful handling, proper substrate | $500-$3K |
| Grout Deterioration | Water infiltration over time | Medium | Regular sealing, maintenance | $500-$3K |
Specific Causes of Tile Failure
1. Inadequate or Missing Waterproofing
The Problem: Waterproofing applied incorrectly, incompletely, or using budget-grade products allows water to penetrate the substrate.
The Result: Water infiltrates behind tile, substrate absorbs moisture, mold develops, wood rots, structural failure.
Prevention: Use professional-grade waterproofing systems (Schluter-SYSTEMS recommended), applied by experienced installers, with comprehensive coverage of all wet areas.
2. Improper Substrate Preparation
The Problem: Installing tile on drywall in wet areas, or using damaged/inadequate substrate.
The Result: Substrate absorbs water, deteriorates, tile loses adhesion, cracks develop.
Prevention: Use cement board (not drywall) in all wet areas. Inspect and repair substrate before waterproofing. Use quality mortar and ensure proper coverage.
3. Incorrect Shower Slope
The Problem: Shower floor not sloped adequately toward drain (should be ¼ inch per linear foot).
The Result: Water pools instead of drains, sits against walls, infiltrates behind tile and substrate.
Prevention: Professional contractors verify slope during construction with slope measurement tools. This is non-negotiable.
4. Inadequate Mortar Coverage
The Problem: Thin-set mortar not applied fully beneath tiles, leaving voids.
The Result: Water infiltrates voids, attacks substrate, tiles lose support, cracks develop.
Prevention: Professional tile setters apply mortar with proper notch trowel size, maintaining 80%+ coverage. This requires skill and experience.
5. Improper Grout Selection and Installation
The Problem: Using wrong grout type (cement-based where waterproof epoxy needed), insufficient sealing, improper installation.
The Result: Grout is porous, allows water infiltration, mold grows in and around grout, cracks develop in grout.
Prevention: Use epoxy or urethane grout in bathrooms (more waterproof than cement-based). Seal grout properly after installation. Professional grouting requires attention to spacing, lines, and finish.
6. Foundation Settling and Movement
The Problem: Texas clay soil causes foundation settling, shifting, and movement. Bathrooms are sensitive to this movement.
The Result: Tile cracks as substrate shifts, water infiltrates cracks, mold develops.
Prevention: Address foundation issues before extensive remodeling. Some settling is normal and can be accommodated. Professional contractors assess and plan for expected movement.
7. Thermal Stress and Expansion/Contraction
The Problem: Temperature changes cause materials to expand and contract at different rates, creating stress on tile and grout.
The Result: Grout cracks, allowing water infiltration.
Prevention: Proper grout spacing (3/16” minimum), using flexible grout in areas of expected movement, maintaining appropriate humidity levels (50-60%).
8. Mold Growth in Moisture Environment
The Problem: Poor ventilation, ongoing moisture, and inadequate drying create mold-friendly environment.
The Result: Mold grows on grout and tile, causes discoloration, creates health hazards, indicates ongoing water/moisture issues.
Prevention: Professional ventilation (correctly sized exhaust fan), wiping down after showers, running exhaust 30 minutes after showers, maintaining humidity below 60%.
9. Impact Damage and Settling
The Problem: Heavy objects dropped on tile, structural settling, or vibration cause tile to crack.
The Result: Crack expands, water enters, substrate damage begins.
Prevention: Careful handling during installation, proper substrate preparation to absorb vibration, addressing structural issues.
10. Poor Grout Lines and Maintenance
The Problem: Grout deteriorates over time, develops cracks, or absorbs moisture.
The Result: Water infiltrates deteriorated grout, damages substrate.
Prevention: Regular maintenance, periodic re-sealing (every 1-3 years), cleaning, prompt repair of grout cracks.
The Cascade of Failure
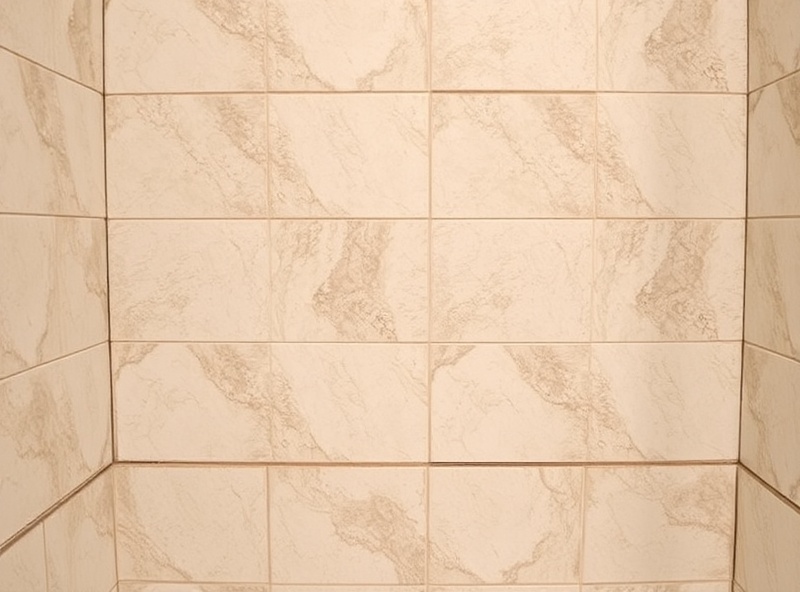
Understanding the cascade helps explain why prevention is critical:
Stage 1 (Water Entry): Water gets behind tile through inadequate waterproofing, improper slope, or grout cracks.
Stage 2 (Initial Damage): Water penetrates substrate, causing initial damage. Often unnoticed at this stage.
Stage 3 (Mold Growth): Moisture in substrate encourages mold. Odors may appear. Some discoloration of grout.
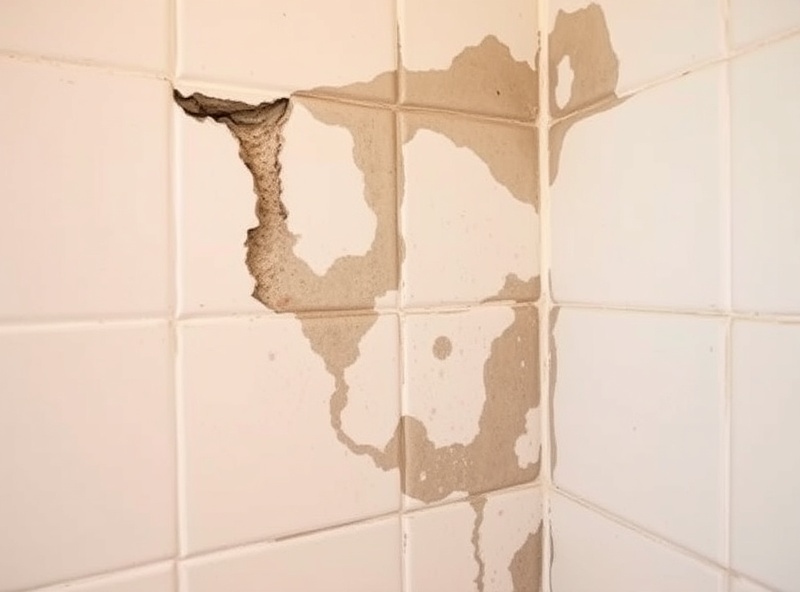
Stage 4 (Structural Damage): Water continues infiltrating, attacking wood framing, drywall, supporting structure. Increasingly visible damage.
Stage 5 (Complete Failure): Bathroom is unusable. Mold is heavy. Structure is compromised. Complete renovation required.
A bathroom that costs $40,000 to renovate can cost $60,000-$80,000 to remediate if tile failure occurs.
Professional Installation Standards
Professional bathroom tile installation includes:
- Quality substrate assessment: Inspect and repair substrate before work begins
- Professional-grade waterproofing: Schluter or equivalent system, properly installed
- Cement board in wet areas: Not drywall
- Proper slope verification: Measured and confirmed, ¼ inch per foot toward drain
- Adequate mortar coverage: 80%+ contact between mortar and tile
- Appropriate grout selection: Epoxy or urethane for bathrooms
- Proper grout sealing: Sealed after curing, re-sealed periodically
- Professional ventilation: Correctly sized exhaust fan, properly ducted
- Quality tile selection: Porcelain in wet areas (not ceramic)
- Comprehensive warranty: Workmanship warranty covering installation
Signs Your Bathroom Tile Work Was Done Poorly
Watch for these indicators that tile work didn’t meet professional standards:
- Uneven grout lines: Inconsistent spacing, width, or finish
- Lippage: Tiles not flush with each other (edges don’t align)
- Visible voids beneath tile: Hollow-sounding tiles when tapped
- Improper slope: Water pools in shower instead of draining
- Poor waterproofing preparation: Visible gaps or missing coverage
- Visible mold: Especially in grout or around tile edges
- Loose tiles: Tiles move when pressed or tapped
- Cracks in tile or grout: Especially within first year
- Musty odors: Indicates moisture/mold behind tile
- Discolored substrate: Visible moisture damage on walls
Any of these signs indicate professional intervention needed.
Frequently Asked Questions About Bathroom Tile Failure
How do I know if my tile installation was done correctly?
Professional installation has even grout lines, tiles that align flush (no lippage), no visible voids, proper slope, solid sound when tiles are tapped (no hollow areas), and clean waterproofing coverage. Poor quality shows as uneven grout, misaligned tiles, water pooling, or musty odors. If you have concerns, hire professional inspector before sealing grout.
Can tiles fail within just a few years?
Yes. Poor waterproofing, inadequate substrate, or improper installation can cause failure within 1-3 years. Water infiltration is gradual—the tile looks fine but damage develops behind it. By the time you see mold or water damage, significant harm may already be done. Professional installation prevents early failure.
Is cement board really necessary in bathrooms?
Yes. Drywall absorbs water and deteriorates in humid environments. Cement board resists moisture absorption and lasts far longer. Building codes require cement board (or better) in wet areas. Using drywall is a cost-cutting mistake that leads to failure. Always confirm cement board is used in wet areas.
How often should I reseal grout?
Grout should be sealed after initial installation (usually 72 hours) and resealed every 1-3 years depending on traffic and moisture exposure. Unsealed grout is porous and allows water infiltration. Regular sealing maintenance prevents water damage. Neglecting resealing is a common cause of long-term problems.
What’s the right shower slope and how is it verified?
Shower floor should slope ¼ inch per linear foot toward drain. Professional contractors measure slope with a laser level or slope measurement tool during construction. This is critical—improper slope causes water pooling and infiltration. Confirm slope verification is included in your contractor’s specifications.
Why does my bathroom smell musty if tiles look fine?
Musty odor indicates moisture/mold behind tile or in substrate—a classic sign of waterproofing failure. The tile surface looks fine, but water has infiltrated behind it. This requires professional assessment to determine extent of damage. Don’t ignore musty smells—they indicate active moisture problems.
What’s the best way to prevent tile failure?
Use professional-grade waterproofing (Schluter-SYSTEMS), cement board substrate, proper slope, experienced tile setters with 80%+ mortar coverage, epoxy grout, proper sealing, professional ventilation, and workmanship warranty. Spend 10-15% more upfront for professional quality than spend $30,000-$60,000 fixing failures later.
Should I be concerned about foundation movement in Texas?
Yes. Texas clay soil causes foundation settling and movement. This movement stresses tile and can cause cracks that allow water infiltration. Professional contractors assess expected movement and plan accordingly. Address foundation issues before extensive tiling. Some movement is normal—professional design accommodates it.
Can I repair failed tiles without complete renovation?
If failure is limited and caught early, localized repair might work. However, if waterproofing is compromised, water damage has likely spread behind tiles and into substrate. Professional assessment determines whether repair or renovation is needed. Catch problems early to minimize scope and cost.
Questions to Ask Before Hiring a Tile Contractor
- What waterproofing system will you use? (Should be Schluter or equivalent)
- How will you verify shower slope? (Professional contractors measure slope)
- What percentage mortar coverage do you achieve? (Should be 80%+)
- What grout type do you recommend? (Should recommend epoxy or urethane)
- Do you seal grout? (Yes, professional contractors do)
- What warranty do you provide? (Professional contractors warranty their work)
- Can you provide references? (Recent similar projects)
- How long have you been installing tile? (Experience matters significantly)
Conclusion: Prevention is Worth the Investment
Tile failure is expensive and disruptive. A bathroom that looks fine on the surface can be suffering serious damage behind the tile. Professional bathroom tile installation isn’t just about aesthetics—it’s about building a durable, waterproof space that won’t develop problems within years.
When budgeting your bathroom renovation, waterproofing and professional tile installation are not places to cut corners. The difference between a failed bathroom renovation and a successful 20-year solution is often $2,000-$5,000 in better materials and professional installation.
ARRO uses professional-grade waterproofing (Schluter-SYSTEMS), cement board, proper slope, quality grout, and professional tile installation. We warranty our work because we’re confident it will last. That confidence comes from doing it right, every time.
If you’re planning a bathroom renovation, prioritize waterproofing and professional installation. The initial investment prevents far greater costs down the line.